Welcome to the Sharp Clock Manual! This guide provides comprehensive instructions for setting up, operating, and maintaining your Sharp Clock. Read it carefully to ensure optimal performance.
Overview of the Sharp Clock
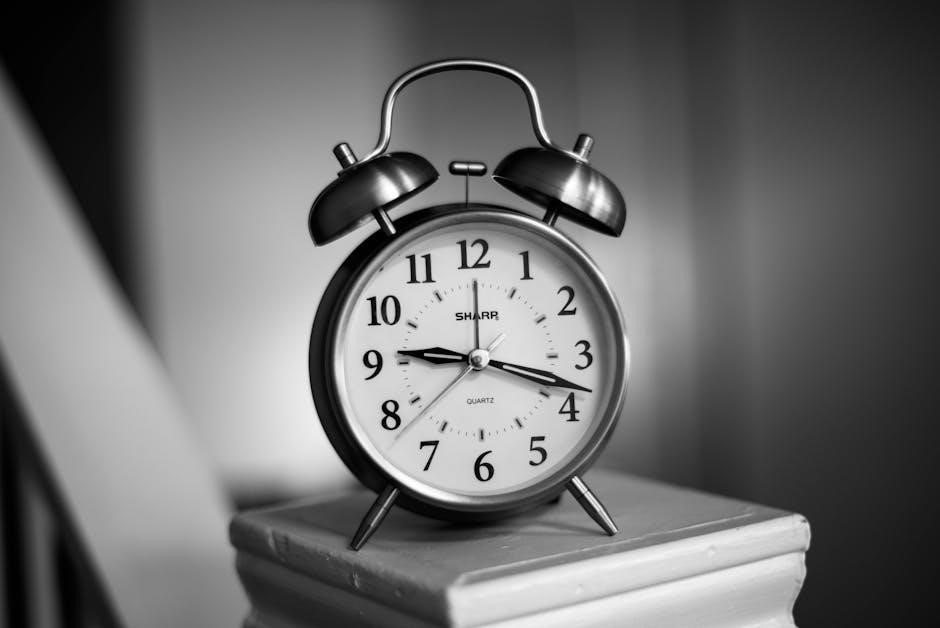
The Sharp Clock is a cutting-edge timekeeping device designed for accuracy and convenience. It features automatic time synchronization, ensuring precise timekeeping. The clock includes dual alarms for multiple wake-up times and displays temperature, enhancing functionality. Its sleek design blends seamlessly with modern interiors, making it ideal for bedrooms, offices, or living areas. User-friendly controls and a clear display ensure ease of operation. Perfect for those seeking a reliable and feature-rich clock for daily use.
Key Features of the Sharp Clock
The Sharp Clock offers a range of innovative features for seamless timekeeping. It includes atomic radio-controlled timekeeping for precise accuracy and automatic daylight saving adjustments. Dual alarms allow users to set multiple wake-up times, while the temperature display provides both Celsius and Fahrenheit readings. The clock also features silent operation, minimizing disturbances. With its sleek design and user-friendly interface, the Sharp Clock is a versatile and reliable addition to any room, combining functionality with modern aesthetics for enhanced convenience.
Technical Specifications
The Sharp Clock features atomic radio-controlled timekeeping for precise accuracy and automatic daylight saving adjustments. It includes a digital LCD display with clear time, date, and temperature readings in both Celsius and Fahrenheit. The clock operates on 2 AA batteries, ensuring reliable performance without mains power. Compact and lightweight, it measures 6.5 inches in width and 4.5 inches in height, weighing approximately 11 ounces. Built with durable materials, it offers silent operation for a disturbance-free environment, making it ideal for bedrooms and living spaces.

Setting Up the Sharp Clock
Unbox and inspect the clock, ensuring all components are included. Place it on a stable surface or mount it on the wall for optimal visibility and accuracy.
Unboxing and Initial Setup
Begin by carefully unboxing your Sharp Clock and inspecting all components. Ensure the clock, batteries, and mounting hardware are included. Place the clock on a flat surface or prepare for wall mounting. Insert the batteries as indicated in the manual, ensuring correct polarity. Set the time zone by sliding the DST switch if necessary. Allow the clock to synchronize automatically or set the time manually if needed. Let the clock stabilize for 24 hours to ensure accuracy. Store the manual for future reference.
Placing the Clock in an Optimal Location

Position your Sharp Clock in a central location to ensure visibility and optimal signal reception. Avoid placing it near electrical devices like TVs, microwaves, or computers, as they may interfere with the clock’s performance. Place it near a window for better signal reception, but avoid direct sunlight to prevent overheating. Keep the clock away from moisture and extreme temperatures to maintain accuracy. Ensure the surface is stable and level for proper functioning. This placement will maximize your clock’s efficiency and reliability over time.
Mounting the Clock on the Wall
To mount your Sharp Clock on the wall, choose a location with good signal reception and avoid direct sunlight or moisture. Use the provided hardware or suitable wall anchors to ensure stability. Ensure the clock is level using a spirit level for accurate timekeeping. Avoid areas near electrical devices to prevent interference. After mounting, check the clock’s signal reception and adjust its position if necessary. Refer to the manufacturer’s guidelines for specific wall-mounting instructions to ensure proper installation and functionality.

Operating the Sharp Clock
Operating the Sharp Clock is straightforward. It features automatic time synchronization for accuracy; Manual time setting is available when needed. Set alarms easily and use the snooze function for added convenience.
Automatic Time Synchronization
The Sharp Clock features automatic time synchronization, ensuring accuracy by receiving a radio time signal. This process occurs daily, adjusting the time and hands without manual intervention. If the signal is weak or unavailable, the clock defaults to its last synchronized time. For optimal reception, place the clock away from electrical interference. The clock will continue searching for the signal, ensuring it stays accurate. This feature provides convenience and reliability, eliminating the need for frequent manual adjustments.
Manual Time Setting
If the automatic synchronization fails due to poor signal reception, you can manually set the time. Press and hold the CLOCK button until the display flashes. Use the + or ‒ buttons to adjust the hours and minutes. Press CLOCK again to save. Ensure the clock is placed away from electrical interference for optimal performance. Manual setting is ideal in areas with weak radio signals, allowing you to maintain accurate timekeeping. This feature ensures your clock remains reliable even without automatic updates.
Setting Alarms and Snooze Functions
To set an alarm, press and hold the ALARM 1 or ALARM 2 button until the display flashes. Use the + or ‒ buttons to select your desired wake-up time. Press ALARM 1 or ALARM 2 again to confirm. For the snooze function, press the SNOOZE button when the alarm sounds to delay it by 10 minutes. Repeat to extend snooze. Dual alarms allow separate wake-up times, perfect for multiple users. Ensure alarms are enabled to activate. This feature enhances convenience and flexibility for daily routines.
Maintenance and Care
Regularly clean the clock with a soft, damp cloth to prevent dust buildup. Avoid harsh chemicals. Check battery expiration dates and replace them correctly for optimal performance.
Cleaning the Clock
Regular cleaning ensures your Sharp Clock remains functional and visually appealing. Use a soft, lint-free cloth lightly dampened with water to wipe the display and exterior. Avoid harsh chemicals, abrasive materials, or excessive moisture, as they may damage the finish or harm electronic components. For stubborn marks, a mild soap solution can be used, but rinse thoroughly with a clean, damp cloth. Dry the clock completely to prevent mineral spots. Avoid spraying cleaners directly on the clock to maintain its longevity and performance.
Battery Care and Replacement
To maintain your Sharp Clock’s performance, use high-quality alkaline batteries. Avoid mixing old and new batteries or different types, as this may cause malfunction. Insert batteries with the correct polarity, following the diagram inside the compartment. If the clock shows a low battery indicator, replace the batteries promptly. Remove dead batteries to prevent leakage and dispose of them properly. Store spare batteries in a cool, dry place. Always turn off the clock before replacing batteries to ensure accurate timekeeping after installation.
Troubleshooting Common Issues
Identify symptoms like inaccurate timekeeping or display malfunctions. Check signal reception, power issues, or battery life. Reset the clock or consult the manual for persistent problems.
Signal Reception Problems
If your Sharp Clock struggles with signal reception, ensure it’s placed away from electronic devices like TVs or microwaves, which can cause interference. Move the clock near a window for better signal strength. Check for obstructions or nearby structures that may block the signal. If issues persist, reset the clock by removing the batteries or unplugging it, then restart. Ensure the clock is in an area with strong signal coverage for accurate time synchronization.
Display Malfunctions
If your Sharp Clock’s display is dim, flickering, or showing incorrect information, first ensure the power source is stable. Clean the display gently with a soft cloth to remove any dirt or smudges. If the issue persists, reset the clock by removing the batteries or unplugging it for 30 seconds. For digital models, check the brightness settings and adjust if necessary. If the display remains faulty, contact customer support or consider replacing the clock if it’s under warranty. Proper care ensures optimal visibility and functionality.

Advanced Features
Explore advanced features like dual alarm setup, temperature unit customization, and automatic synchronization for enhanced functionality. These settings ensure a personalized and efficient user experience.
Dual Alarm Setup
Press and hold the ALARM 1 or 2 button for 2 seconds to activate the dual alarm feature. Use the HOUR and MINUTE buttons to set the desired wake-up times. Save by pressing the corresponding alarm button again. This feature allows you to set two separate alarms, perfect for multiple wake-up times or different schedules. You can customize each alarm independently, ensuring flexibility for weekdays, weekends, or specific days of the week. Dual alarms enhance convenience and help you stay on track with ease.
Temperature Unit Settings
To change the temperature unit on your Sharp clock, press the CLOCK button until the temperature display flashes. Use the HOUR or MINUTE button to toggle between Celsius and Fahrenheit. Save your preference by pressing the CLOCK button again. This feature allows you to customize the temperature display according to your needs. Ensure the unit matches your regional standards for accurate readings. The clock will retain your setting until manually changed, providing consistent temperature information at a glance.
Safety Precautions
Always keep the Sharp Clock away from water and moisture to prevent electrical hazards. Use only the original adapter provided to avoid damage or risk.
Important Safety Warnings
Important safety warnings for your Sharp Clock include avoiding exposure to water or moisture, as this may cause electrical hazards. Never use damaged power cords or adapters, as they can lead to fire or shock risks. Keep the clock out of reach of children to prevent accidental damage or injury. Avoid placing the clock near flammable materials or in extreme temperatures. Always follow the manufacturer’s instructions for battery replacement and disposal to ensure safety and environmental protection. Proper handling and care will extend the product’s lifespan and ensure safe operation.
Storage and Disposal Guidelines
Store your Sharp Clock in a cool, dry place away from direct sunlight and moisture. Avoid exposure to extreme temperatures or humidity. When storing, remove batteries to prevent leakage. For disposal, recycle batteries responsibly and follow local regulations for electronic waste. Properly dispose of packaging materials and ensure the clock is handled in an environmentally friendly manner. Always recycle when possible to minimize environmental impact and adhere to local guidelines for safe disposal of electronic devices.
Final Tips for Optimal Performance
To ensure your Sharp Clock performs at its best, keep it away from electrical interference sources like TVs or microwaves. Regularly clean the display with a soft cloth and avoid harsh chemicals. For battery-powered models, check and replace batteries as needed to maintain accuracy. Ensure the clock is placed in an area with strong signal reception for automatic time synchronization. Refer to the manual for specific care instructions tailored to your model for long-lasting reliability and precise timekeeping.
Warranty and Support Information
Your Sharp Clock is backed by a limited warranty covering manufacturing defects for a specified period. For detailed warranty terms, refer to the manual or visit Sharp’s official website. For support, contact Sharp’s customer service or visit their online portal for troubleshooting guides, FAQs, and downloadable resources. Register your product to ensure seamless support and updates. Keep your purchase receipt as proof of ownership for warranty claims. Sharp’s dedicated team is here to assist you in optimizing your clock’s performance and resolving any issues promptly.